The Territory is also the Map
I’m always telling woodworkers to read more. Furniture-makers have spilled enough ink to drown an elephant and you can improve your work by sitting in a chair and leafing through an old manual of the craft. But even a good book seems thin next to a real piece of handmade furniture. You can put down the book and “read” the piece instead.
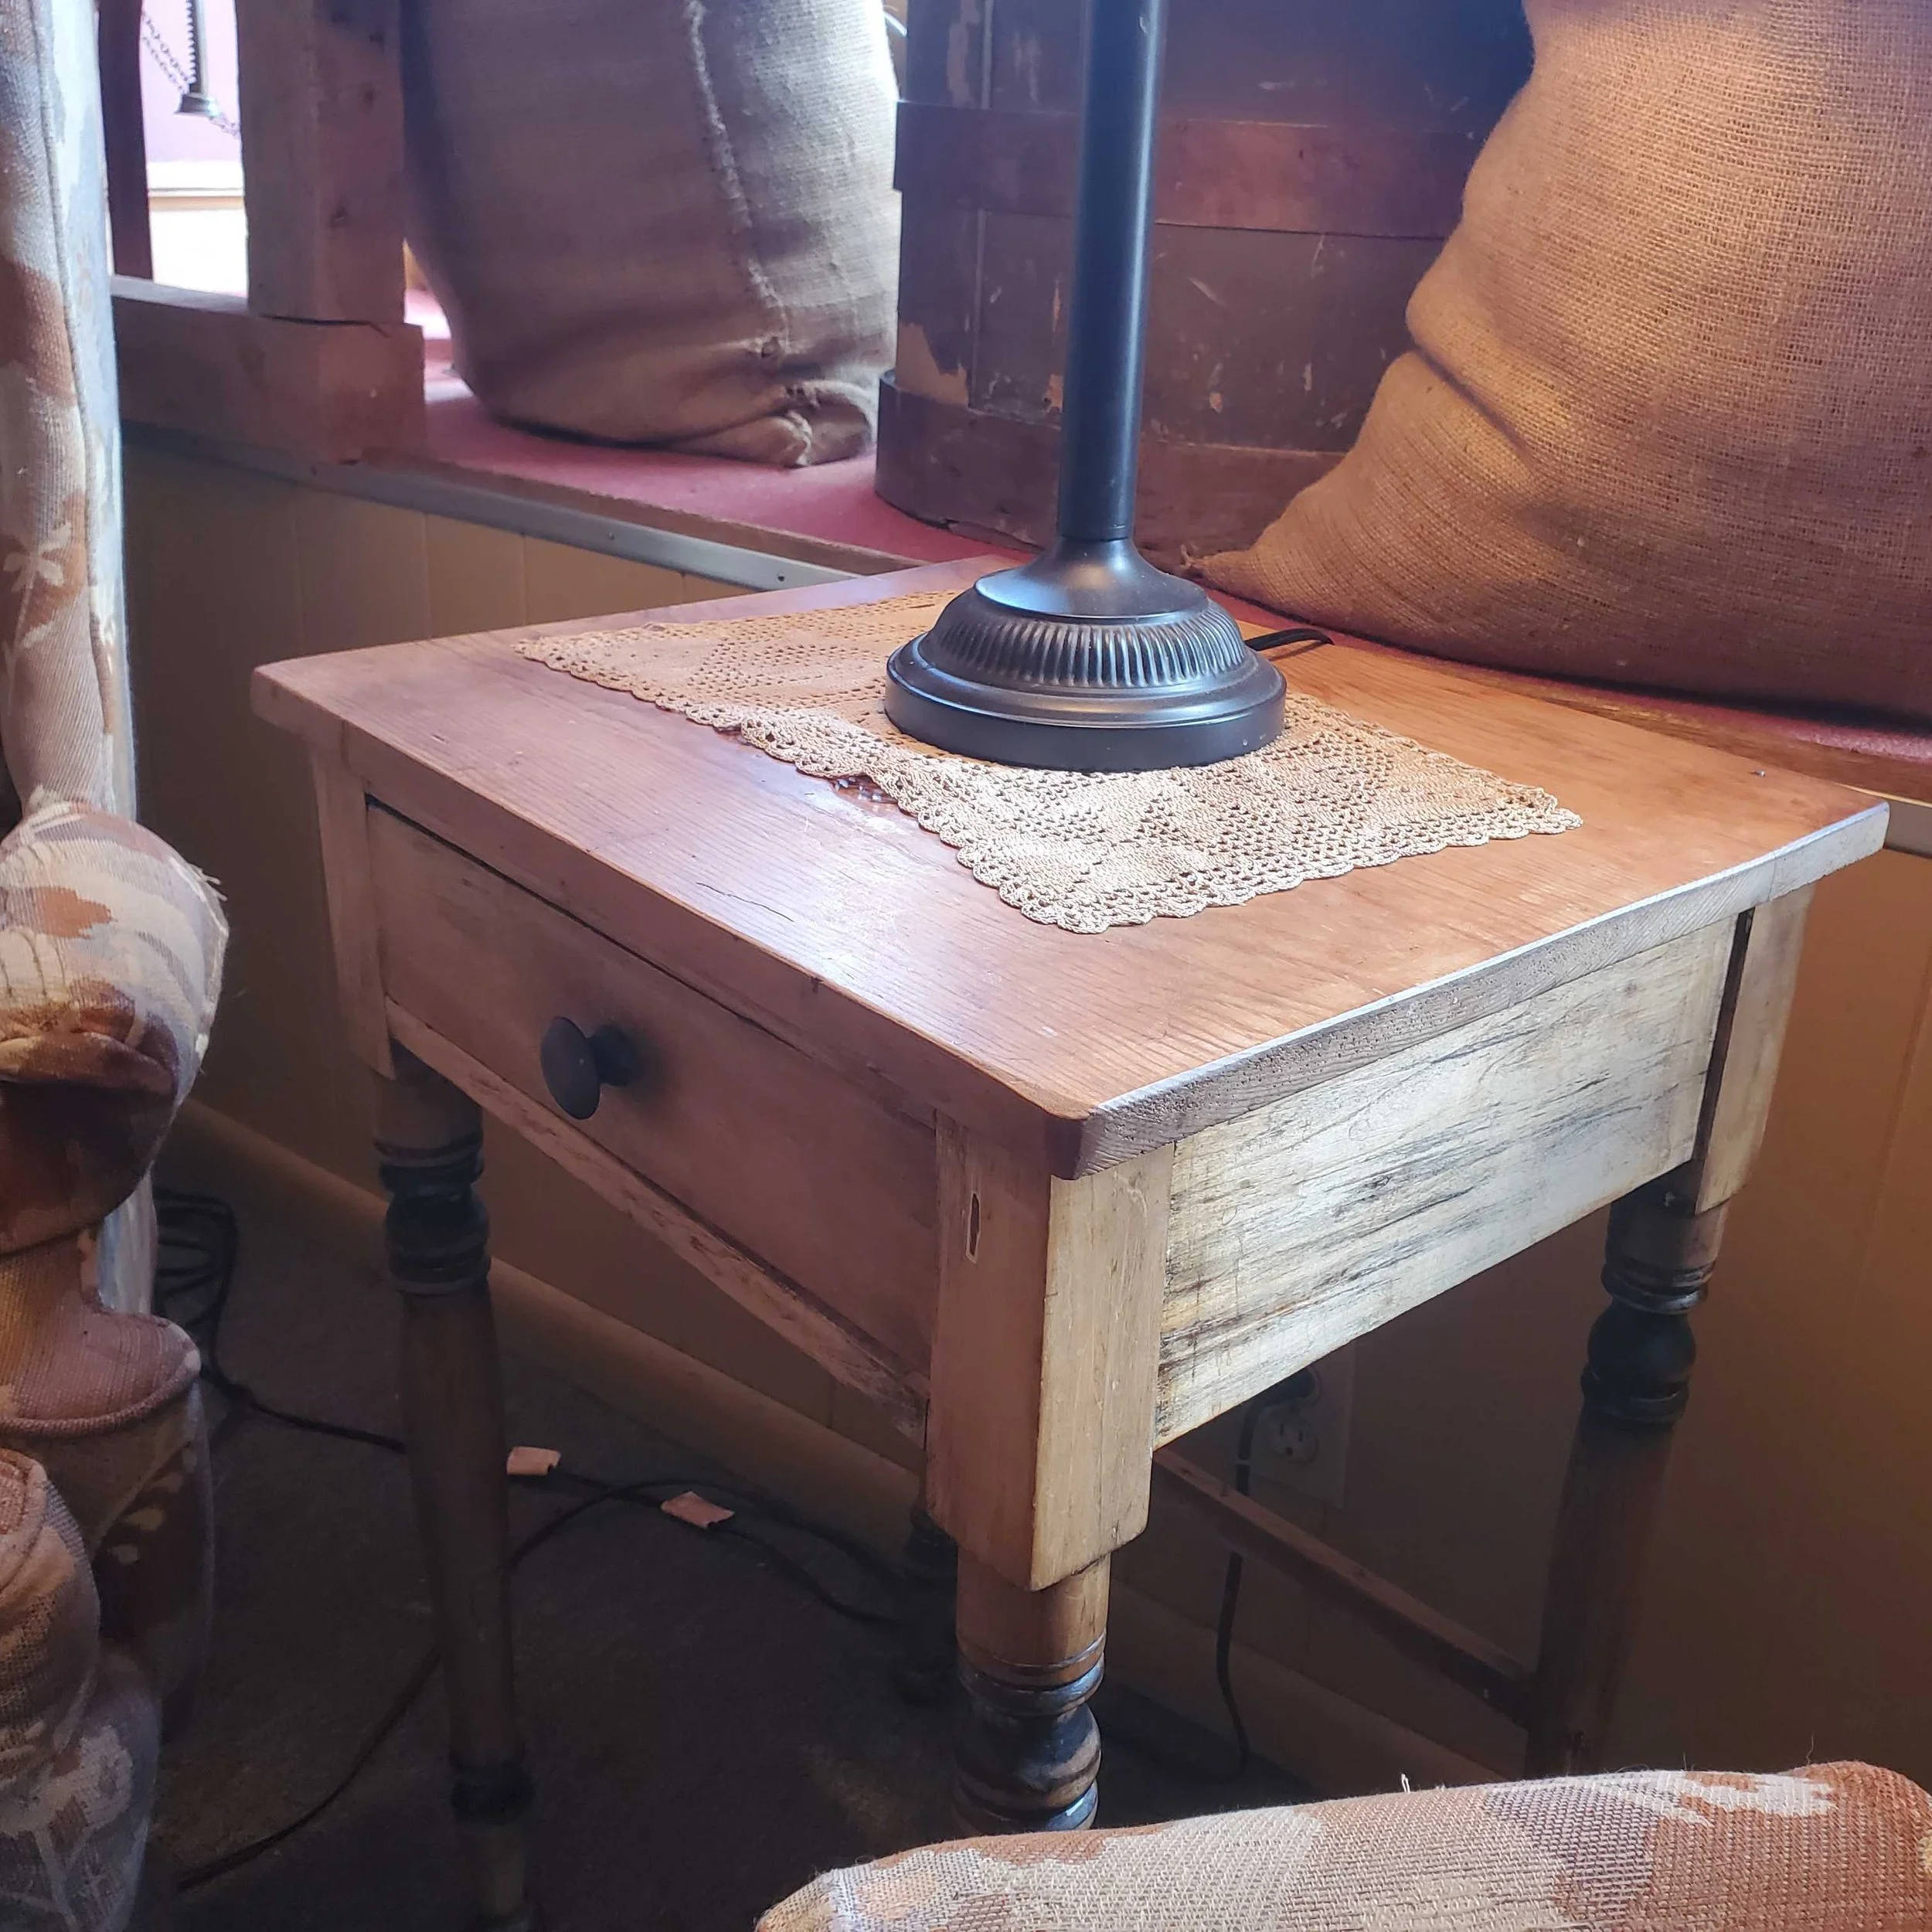
Just this week, I found myself in a country antique store. I was pretending to browse, but really I was just mooching off their free heat while I took a break from chilly outdoor filming. Right in front of the store window was a fine little table with turned legs. It was nothing special; middle class furniture from a country carpenter.
On impulse, I grabbed the drawer and pulled it straight out, and holding it in my hand, I had a complete course in solid wood drawer-making. Drawers aren’t easy, and I’ve only made simpler ones myself, but just looking at this one answered all the questions about making a complete drawer.
What timber should you use? Anything cheap, so long as it’s stable and dry. Most of the table was made from sycamore or silver maple; common, inexpensive local woods that were durable enough and yielded clean details at the lathe. The face of the drawer was hardwood, but all the interior components were softwood, dark with age, but probably pine like the top. A lot of modern builders would scoff at the choice, but these parts had held up fine.
How should the joints be cut? Dovetails all around. Neat where you can see them, and fast where you can’t. Where the sides meet the front, I found half-blind dovetails, just like you would expect. The work was tight but unpretentious. The craftsman had sawn a bit past the baselines, but clearly didn’t fret about it. To speed up waste removal between the pins, he had sawn right into the drawer front, lengthening his kerfs and cutting down on chiseling. Yes, the saw cuts are clearly visible on the inside of the drawer front. No, it doesn’t matter a bit. Who (besides a furniture maker) ever looks at the inside of a drawer front?
In the back I found simple, through dovetails. These were cut for speed, with the waste roughly chopped out. These joints held together and that’s enough. The back gives us a few other clues. The top corners of the sides are worn down from decades of rubbing against the underside of the tabletop. Here we see softwood holding up just fine. The drawer back is much lower than the sides and beveled, too. No matter how much those sides wear, the back will never catch and split.
How should the bottom be handled? It should be a panel, glued-up if necessary, with the grain running side-to-side. It will sit in a narrow groove (maybe ¼ inch wide) in the drawer sides. While the groove itself is narrow, there’s no need for the bottom to be thin. It can be roughly beveled on the sides until it slides in under the drawer back. This construction is fast, it saves tedious thicknessing by hand, and it keeps that drawer bottom thick and sturdy. The bottom itself is the only potential flaw in the construction. It had split and the rear portion worked its way out the back of the groove. It’s an easy fix and I suspect the table lived a few hard years before finding its way to the antique store. I took a quick sniff inside and smelled rat urine, a sure sign of barn storage for who knows how long. Northern Ohio’s wild seasonal swings did their damage over the years, but this drawer’s modular construction is repairable. The joints can be re-glued. That bottom can be tapped home again. I’m no restorer, but even I could handle it.
When I get deeper into drawer-making, I hope my own work will be this good. It should be. I’ve been told exactly what to do.


